
Eibach Pro Kit Suspension
I felt the Challenger sat just a little bit too high and wanted to improve the handling a bit. After researching various solutions, I decided on the Eibach Pro Kit. This "kit" includes a tuned set of springs with matched shocks. Some folks simply replace the springs, but the issue with that is you can blow out the stock shocks since they're no longer working in the proper range. After taking the suspension apart, I'd rather just do it once and using a tuned kit with springs and shocks to match will provide better handling and a smoother ride. Also, if you have a 6 speed then your rear shocks are what they call NIVOMAT, meaning they're self leveling. If you don't replace the rear shocks then the car won't lower properly as the NIVOMAT shocks are load leveling and will try to keep the car at stock ride height.

For this modification you'll need:
Eibach Pro Kit
Impact gun highly recommended
18mm deep well socket
21mm deep well socket
13mm socket
16mm socket
Socket swivel adapter
13/16 lug nut socket
Impact extension
15mm box end wrench
Spring compressor and proper socket to fit
Pitman arm puller and proper socket to fit
Jack Stands
Floor Jack
Strap Wrench
Difficulty Rating: 

I always say a prayer before starting work on the car to keep me safe and to help the job go smoothly.
Rather than type out an article for how to do this, I recorded an in depth video. I thought this would be much easier to see done rather than trying to read how to do it. The video is two parts, front then rear, to make for easier viewing.
| Eibach Pro Kit Installation Part 1: Front Suspension 21:26 |
| Eibach Prot Kit Installation Part 2: Rear Suspension 14:22 |
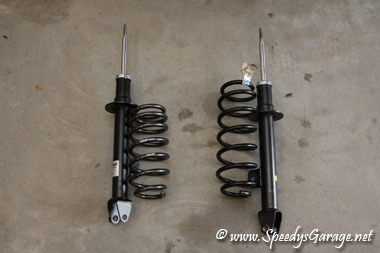
Here are a few images of the Eibach parts vs. the stock parts to give you an idea of the differences.
 |
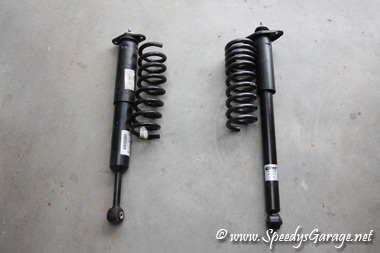 |
| FRONT: Eibach on the left vs. Stock on the right | REAR: Stock on the left vs. Eibach on the right |
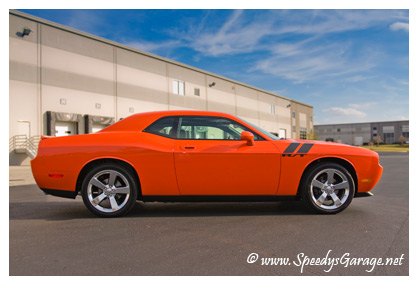
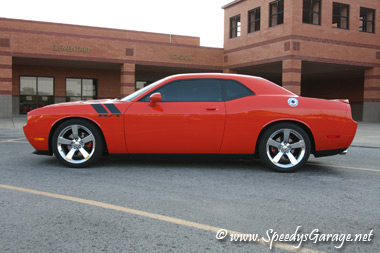
Here's how the car sat on the stock suspension:
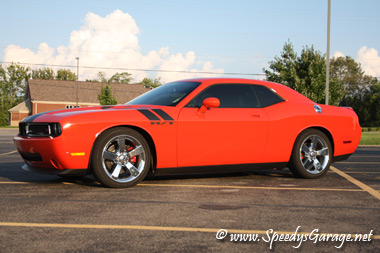
Here's how the car sets on the Eibach suspension. I took measurements before and after with a full tank of fuel and the car was lowered right at 1.5" front and rear as measured from the ground at the center of the wheel to the top of the fender well.
 |
 |
As you can see this is a very sublte but obvious improvement over stock in the looks department. A test drive showed a HUGE improvement in handling. The ride is about 15% more firm than the stock R/T six speed suspension. It corners very flat and can take curves at a much higher rate of speed without the floaty feeling the stock suspension seemed to have, yet it maintains a nice comfortable ride.
The install wasn't too bad, but I wouldn't want to do it without air tools. When I do work on my car I usually ask local shops what they charge to do the job just so I know how much money I saved. In this case I was quoted $500 by three different shops! I used one of the loan-a-tool spring compressors for my install on the front shock assembly. That thing was kind of a pain to use and gave my Snap-On 400 ft/lbs of torque impact a real workout. They can also be dangerous. If I had it to do over again, I'd have removed the front spring/shock assembly and take it to a shop to swap the parts out. The last time I did something like this I didn't have air tools and had a shop swap those parts and they only charged me $10 per assembly.
You'll also want to be sure to get an alignment after working on the suspension. Mine wasn't too far out, but it's money well spent and will save your tires.