
Hood Struts
I really didn't care for the prop rod used to support the hood on the Challenger. After some quick searching I found that this could be easily remedied with a pair of Dodge hood struts. The mounting locations for the struts are already in place so this is a simple plug and play install. I picked up my kit from www.moparsupercenter.com for a very reasonable price.
For this modification you'll need:
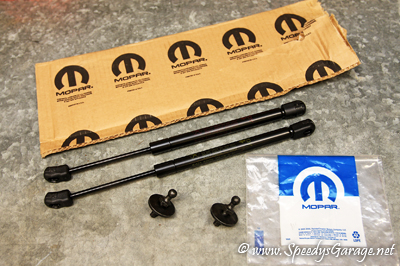
Dodge Hood Strut Kit which consists of:
1 x P/N 68035556AA - Gas Prop Rod R
1 x P/N 68035557AA - Gas Prop Rod L
2 x P/N 6507889AA - Mounting Stud
1/2" Deep Well Socket and Ratchet
Difficulty Rating: 

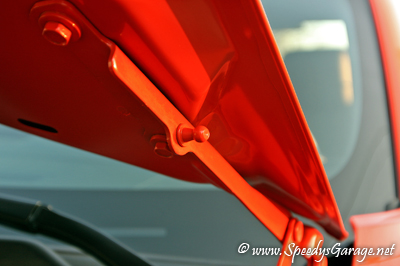
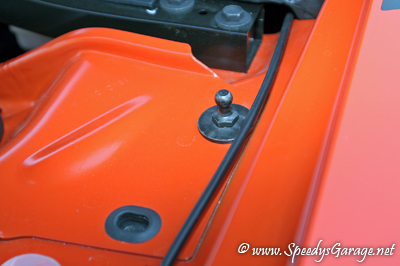
This install is literally a no brainer. The hood has the mounting studs on it from the factory. There are holes in the inner fender area for the studs that come with the strut kit.
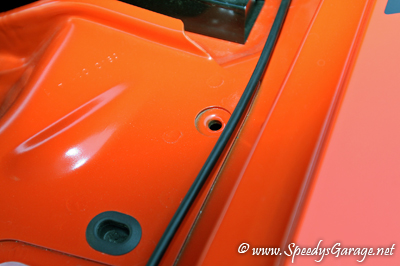
Using the 1/2" deep well socket bolt the studs into the holes in the inner fender on both the left and right sides. The holes aren't threaded, or if they are I couldn't tell as mine were painted, but the studs will self tap into the hole. Just take it slow and easy and be sure to keep the stud straight. When it seats against the inner fender, just tighten it snug being careful not to over tighten.
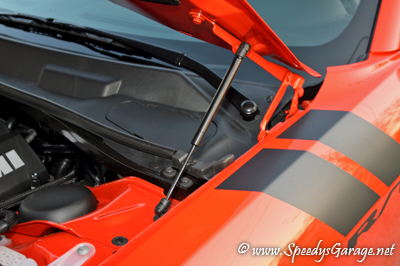
Finally, simply snap the struts on to their respective side. The struts are labeled RH for right hand side, and LH for left hand side. There is also an arrow on the struts labeled "body" showing the direction the struts should be mounted. This is a VERY simple install which gives a lot of bang for the buck as it's a cheap upgrade. It makes working under the hood much simpler as you're not having to work around the prop rod, and it provides a much nicer presentation for those nights at the cruise in.
 |
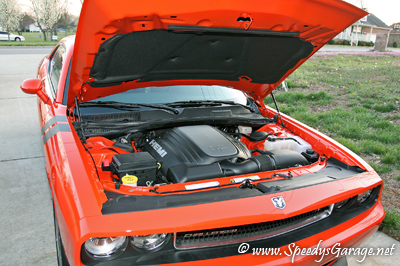 |
Before |
After |
The prop rod is held in place by a small rivet and a plastic clip. Both would be easy to remove should you decide to completely get rid of the prop rod. I'm still debating whether or not to remove it, so I've left it in place for now.