
Project Orange Krush BLOG
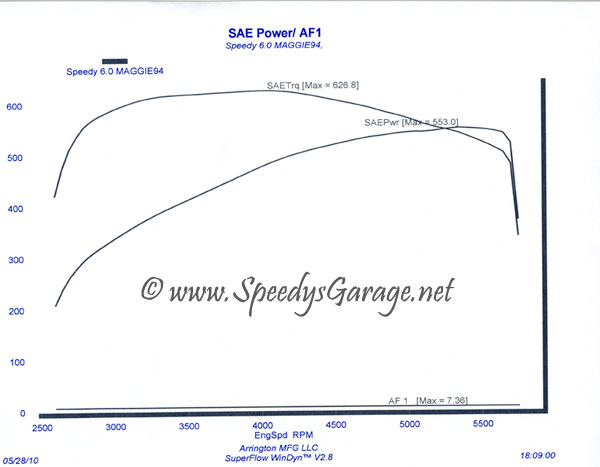
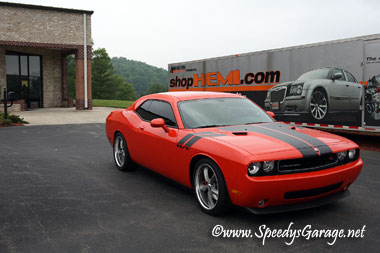
After about twelve months of research, and saving money, I've decided to make a significant power plant upgrade in the Challenger. I've decided to call this endeavor Project Orange Krush. The project was a great success as shown by the dyno sheet.
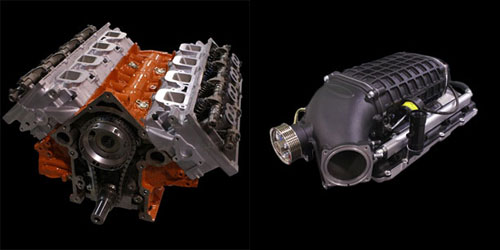
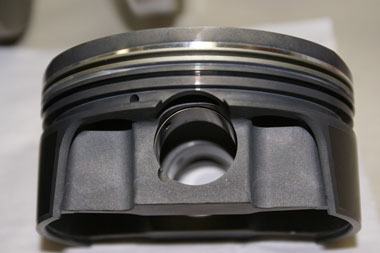
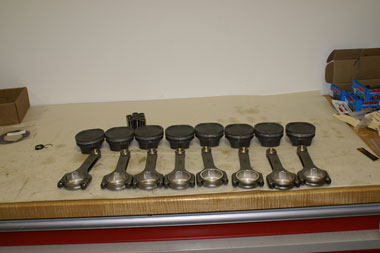
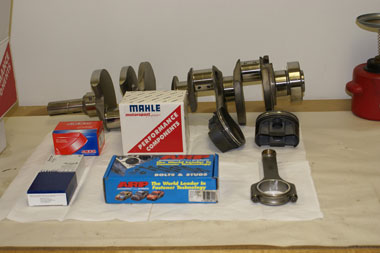
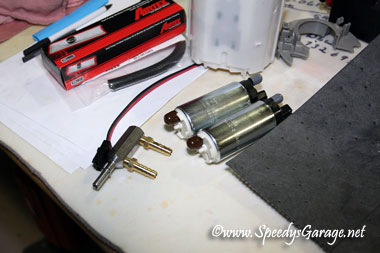
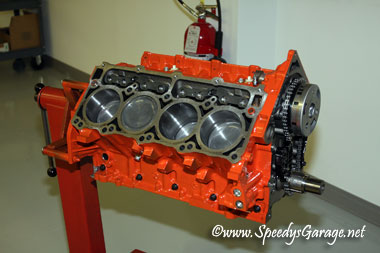
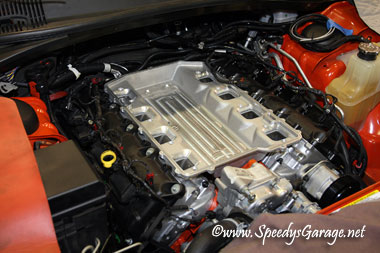
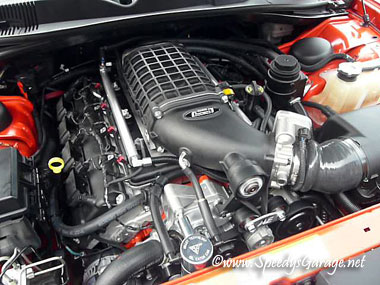
After doing A LOT of research, calling shops, checking sites, forums, etc, I've chosen Arrington Engines in Martinsville, VA to build the motor for me. They're a full service shop and will also be installing the motor, supercharger, and doing the tuning. These are the same guys who build the $100,000 NASCAR motors for Toyota Racing. I'll be getting a forged motor with just a bit of stroke, for a bit more low end torque, taking the engine up to a 6.0L from a 5.7. It will have a Scat crank, K1 h-beam rods, custom Mahle pistons, a blower cam, a 3-angle valve job, ugraded valve springs, and an upgraded fuel system to include twin Walbro 255lph fuel pumps.
This page will be the blog and informational page of SpeedysGarage for this build.
Saturday May 29, 2010
We got up early and made the 7 hour drive home trouble free. I averaged 28mpg on the way up to Arrington and averaged 22mpg on the way home. Not bad for a 550HP car!
Friday May 28, 2010
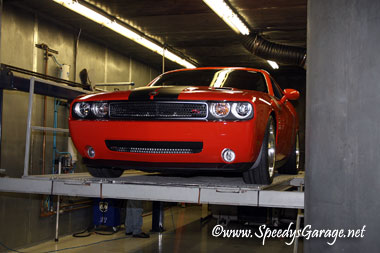
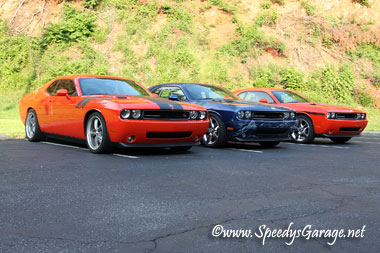
7pm rolled around and we were called to come see the cars. Three of us went in on this little project and Arrington finished all three in 5 days. When we got there mine was just coming off the dyno. The car was insanely torquey and drove really nice. The car made 553RWHP and 627RWTQ!!!! All in all I'd call this a success as my goal was only 500RWHP and 500RWTQ. I'm sure there'll be a tweak here or there over the next few thousand miles, but out of the gate the car feels VERY good.
Monday May 24, 2010
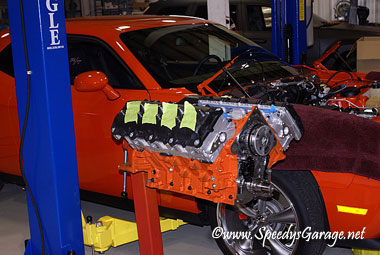
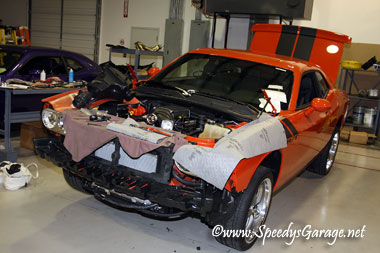
We had the car to Arrington Engines at 7:30am. By 7:45 the car was on the rack cooling down so the work could begin.
Sunday May 23, 2010
We headed out toward Virginia about 8am taking our time on the drive up. We stopped and got our hotel room then went to find Arrington which was about 5 miles away. The drive was uneventful, but WOW there were a lot of VA State Troopers out to write tickets. We saw 12 state troopers in 100 miles. That's a bit much honestly.
Wednesday May 12, 2010
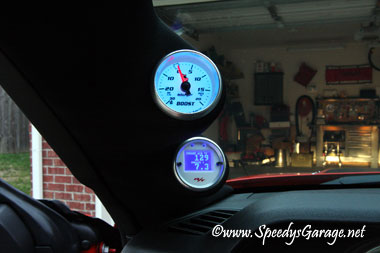
After five long days of running gauge wiring I'm finally finished! They look great, work perfectly and it's a better than OEM install. Be sure to check out my install article and video to see how it's done.
Friday May 7, 2010
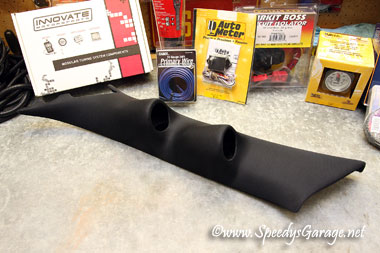
My corrugated loom showed up today, and I'm starting the gauge install!
Wednesday May 5, 2010
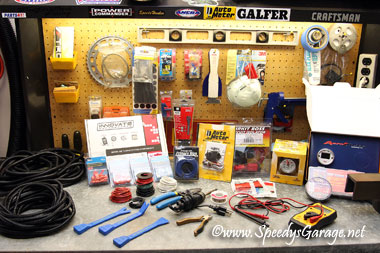
My gauges, LC-1, and Razor's Edge gauge pod all showed up today. Now I just need to receive the corrugated loom and I can start the install.
Friday, April 30, 2010
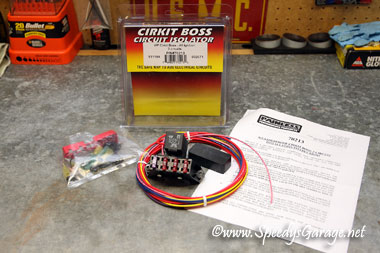
The Cirkit Boss arrived today. I've also began to map out how I will mount the unit as well as how the wires will run to the needed locations. I've also been working on a wiring diagram to give me a plan of attack for installing the gauges. Wiring diagrams are important not only for planning out your circuits, but also for future reference 5 years down the road when you've fogotten how in the world you did it.
Thursday, April 29, 2010
Today I picked up a few odds and ends for the gauge install. I ordered 25 feet of high temp wire loom in 1/4" and 3/8" sizes. I picked up some zip ties and a couple packs of 14-16ga and 18-22ga insulated spade connectors as well as 14 feet of standard 1/4" split wire loom. The high temp stuff is good to 300*F and I'll use that in the engine bay and use the standard stuff for the interior. When I do wiring I make it look factory and split loom is a good way to make aftermarket wiring blend in with the rest of the OEM stuff.
Tuesday, April 27, 2010
Today I ordered a Painless Wiring Cirkit Boss Fuse Block. This will be used to completely isolate the LC-1 wide band, gauges, and water pump power connection for the supercharger from the stock electrical system. It seems the Challenger has a very sophisticated electrical system and I didn't want to tie any of my aftermarket parts in to it. The Cirkit Boss gets ignition switched +12V power from a fuse in the under the hood fuse box. It draws about 2 mA to activate the Cirkit Boss relay which then powers your accessories. It's very neat and clean and everything is protected and this keeps all aftermarket accessories completely isolated from the factory electrical system.. The one I picked up was part number 70213 which is the three circuit ignition hot model, meaning it has three seperate circuits that only get power when the car is running. After doing a bit of testing with my test light, the fuse I intend to use is at position 5 in the under the hood fuse box. It is identified as "Diesel PCM" on the fuse box cover which obviously the Challenger does not have so it's just a spare circuit with no function on the Challenger. That makes it a perfect spot to draw the ignition switched +12V I need. I ordered mine from Amazon.
Wednesday, April 21, 2010
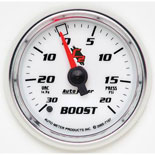
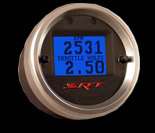
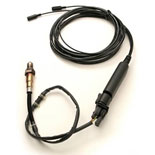
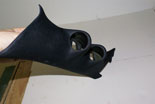
Ordered my gauge package from BMC Performance. In any forced induction setup you need to keep a watchful eye on engine parameters. I chose an Autometer C2 mechanical boost guage, Aeroforce Interceptor gauge that monitors nearly every engine sensor, and an Innovate LC-1 wide band to monitor my air fuel ratio. The LC-1 will tie in to the Interceptor. To mount the gauges in Porject Orange Krush I chose a Razor's Edge dual pillar pod.
The gauge package should be here any day and I'll go ahead and mount them up in the car to prep for the motor installation.
Monday, April 19, 2010
Confirmed the build date of May 24, 2010 with Arrington and placed my deposit.