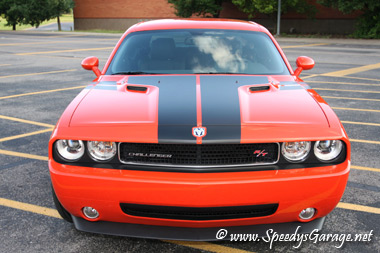
Rally Stripes
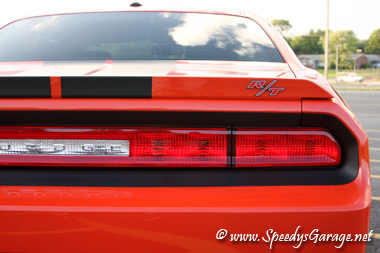
I loved the Hemi Orange paint job on the Challenger, but I wanted to break it up just a tad. After looking around at various options I decided to go with a 10 piece Rally Stripe Kit from RiderGraphix. Even though the kit included stripes for the roof, I decided not to install that portion, and simply stripe the hood and deck lid.
I considerd doing this project myself, but having never tried a graphic this large or invovled I decided to have a local specialty shop put the stripes on the Challenger. The installer did a good job, but he did make a mistake on one of the spoiler pieces and it didn't sit flush to the deck lid on the side facing the rear window. The installer stated that the spoiler was the hardest part due to all the edges and curves. Since I didn't use the roof stripes I had extra material on hand. I wanted to try my hand at installing some of this and after checking with the shop they said if I couldn't get it right they'd redo that piece for me so I didn't have anything to lose.

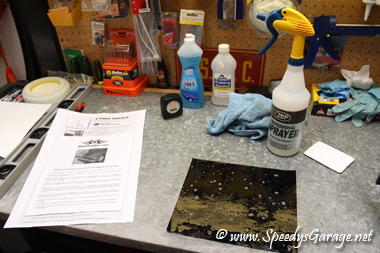
For this modification you'll need:
Stripes
Dawn Original dishwashing liquid
Spray bottle
Painter's tape
Rubbing alcohol
Utility knife
Straight Edge
Microfiber towel
Tape measure
In lieu of all this, you can just use a good installation shop
Difficulty Rating: 


The kit comes with good instructions so just follows those exactly. The instructions were very specific about using Dawn Original dishwashing liquid for the installation solution. Fill a container with one gallon of water and add one tablespoon of Dawn Original and mix. Adding the Dawn Original after the water is in the container will eliminate the issue of suds. Once the mixture is created, put it in a good clean spray bottle.
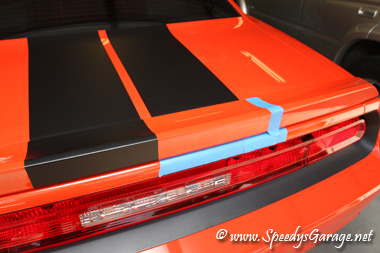
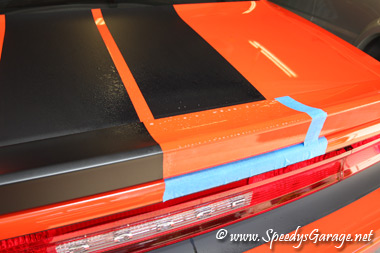
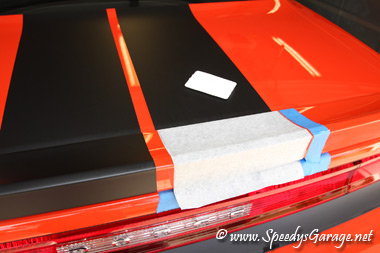
Trim the graphics to within 1/16th of an inch of the backing paper. Clean the areas where the graphics will be installed with the rubbing alcohol. The insturctions dictate to clean it TEN times. Once clean lay the graphics in place on the vehicle and take measurements to get them in the right positions. Once you're satisfied with the location, mark the edges with 3" strips of painer's tape. I also put a piece of painter's tape under the rear spoiler so that I could trim the stripe without scratching the paint.
Once the areas are taped off, remove the backing from the graphic and spray the adhesive side down with the Dawn Original solution. Spray the area on the vehicle where the stripe will be installed with the Dawn solution as well, and more is better.
Lay the graphic on the vehicle and gently slide it into place. Once you're happy with the placement, use the included squeegee to remove the Dawn solution starting from the center and working to the out side edge.
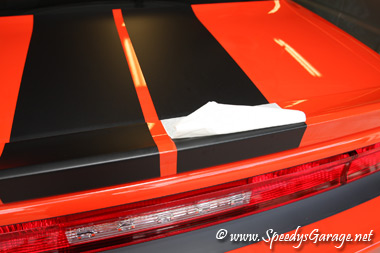
After squeegeeing thoroughly, wait about 15 minutes, then spray the graphic down again with the Dawn solution. This softens the backing paper making it easier to remove. Start in one corner and gently lift the backing paper and begin genly pulling it away at 180* to the graphic. If any of the graphic starts to lift, stop, re-squeegee, and try again in 15 more minutes. On the Challenger I decided to stop the stripe right at the bottom of the spoiler.
Finally, look for any bubbles and use a pin to pop them and the squeegee to remove the air or fluid.
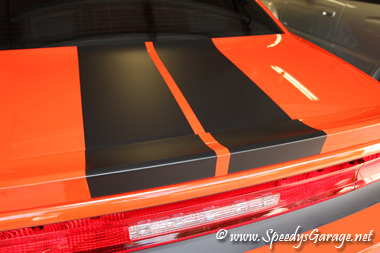
After installing the spoiler piece I'm confident I could have done this project myself. It's a tad tedious, but really isn't very difficult. On future project vehicles I'll do the install of graphics myself and save my money.
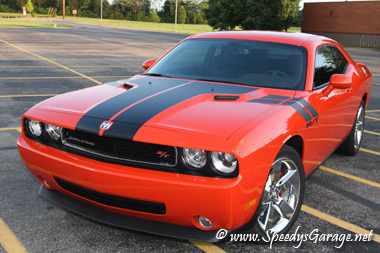

As a finishing touch I added a R/T embelm to the rear spoiler. This is Mopar P/N 4206323AB which is from a Dodge Charger.