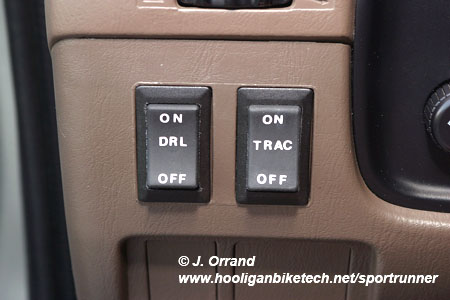
TRAC/VSC Switch
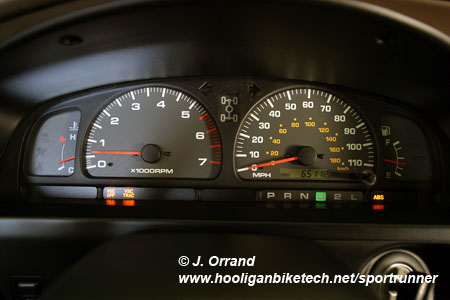
I was driving through a rain soaked field last spring in 4WD HI and got into some pretty sloppy spots. As the 4Runner's tires began to spin and the back end fish tail just a hair the vehicles traction control and skid control systems activated and I thought I was going to get stuck. The traction control systems brought momentum to a crawl and no matter what I tried the systems kept beeping, buzzing, and vibrating the truck as they activated the anti lock brake system in an attempt to find traction, where there was none to be found. I needed to be able to spin the tires and build RPMs to dig out. I could have shifted in to 4 LO which could be risky if you need to keep momentum, or possibly hit the transfer case lock button on the dash, but this incident got me to thinking. Toyota should have provided a switch to turn these traction systems off when you wanted to.
There was a lot of debate on ways to defeat these systems floating around on the net. Wiring diagrams were reviewed and discussed and a simple solution found. There is a connector going to the brake master cylinder that controls these systems. Unplugging this connector turned all of the systems related to the anti- lock brake system off. This includes ABS, TRAC, and VSC. The lamps on the dash even illuminate noting they're disabled. Further inspection of this connector revealed a single wire that could be connected to a dash mounted switch giving the driver the ability to turn these systems off and on from the cab. The only side effect was that once the switch is turned back on the vehicle must be restarted for the systems to come back online. This too could be avoided with more complicated wiring, but I didn't feel it worth the effort and just restart the truck once I'm finished doing what I need to do with the systems disabled.
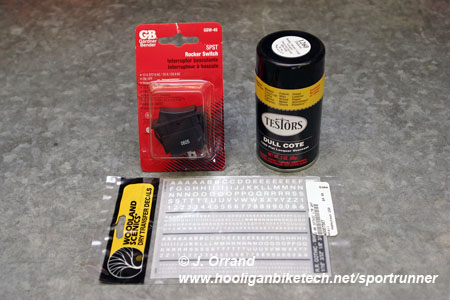
For this modification you'll need:
1 dash switch (I found some at Lowe's made
by GB Electric for $4 that match the factory switches)
2 18 gauge water proof butt connectors
2 4 foot pieces of 18ga wire, preferably different colors
1 piece 18-22 gauge heat shrink tubing
1 foot 3/8" corrugated wire loom
Dry transfer letters - I used
Woodland Scenics brand Gothic R.R. font (optional)
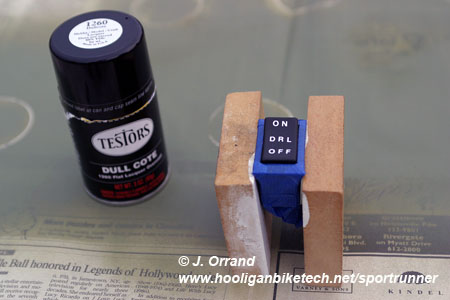
Clear coat spray for plastic (optional) - I used Testors 1260 Flat Lacquer
Painter's Tape (optional)
220 Grit Sand Paper (optional)
Paint Prep (optional)
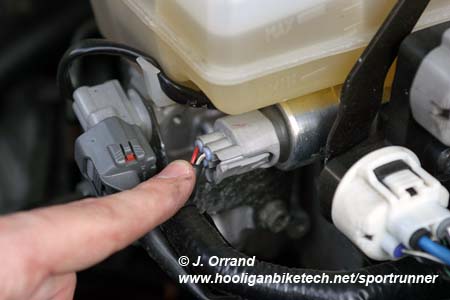
The connector that needs to be modified at the master cylinder is pointed out in the picture below. This is the master cylinder pressure sensor. This mod basically makes the ABS system think there's a malfunction, and the system is disabled. Simply remove some of the wire loom to expose the RED wire. There is a gray hard plastic cover over these wires that will also need to be trimmed back to expose this red wire. Be careful not to cut any wires when exposing them. Once you've got 6" or so of the red wire exposed, cut it and wire your switch in using the water proof butt connectors. Don't forget to put the heat shrink on before connecting the wires. Once they're all connected up, melt the heat shrink over the connections. It's important that this connection is secure and protected. Once your finished with the connections, run the switch wires through the large rubber grommet on the firewall into the cab. Cover your switch wires with the corrugated wire loom and tape it up with electrical tape for a factory installed appearance. Mount the switch in a blank dash port and you're done. Since this is an on/off switch it doesn't matter which pin you connect each wire to on the switch.
|
|
|
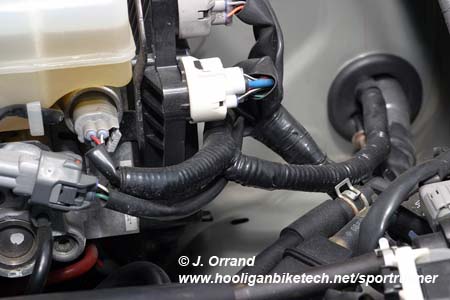
You can see my corrugated covered switch wires running off the factory harness and going through the firewall in the picture above. Now when I flip the dash mounted switch my VSC OFF, VSC TRAC, and ABS lights illuminate letting me know my switch is working properly. I can now spin the tires at will. To turn the ABS, VSC, and TRAC systems back on, I shut the truck completely off, turn my dash mounted switch on to enable the systems, and restart the truck.
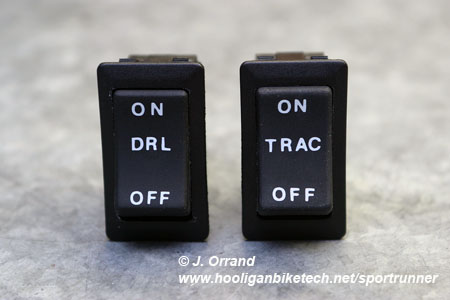
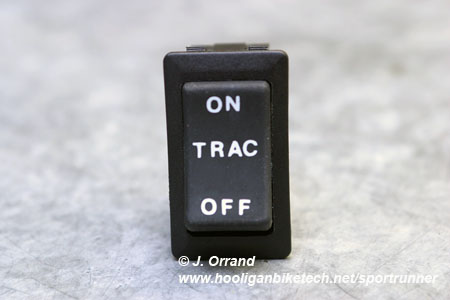
If you want to go an extra step and label the switch for a factory appearance, tape up the outer trim with some painter's tape and lightly sand the switch with some 220 grit sand paper to knock the sheen off. Once sanded, wipe the switch down with some paint prep. Next use a tooth pick and apply the appropriate dry transfer letters. These letters aren't the easiest things to apply to the switch as getting them even is quite a challenge so you may want to buy two packs of letters for some insurance. Once the letters are applied, spray 2-3 light coats of the clear lacquer on the switch. This will seal the letters and keep them from getting rubbed off with use. Be sure to use clear coat designed for plastic or it'll turn cloudy and peel. I learned that the hard way
.
|
|
|
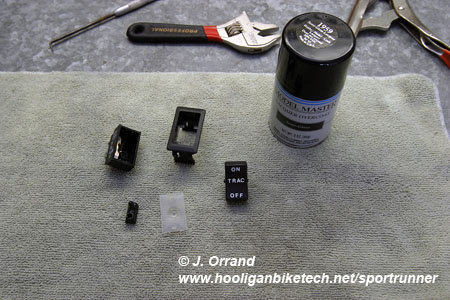
Update:
After a couple of months with the dull cote on the switches, I noticed they'd show finger marks from use so I went back to the hobby shop and picked up some Testors 1959 semi gloss lacquer to spray on the switches which will make them easier to wipe down. I also found it was easier to take the switch apart and remove the rocker for painting.