Tundra Brake Upgrade
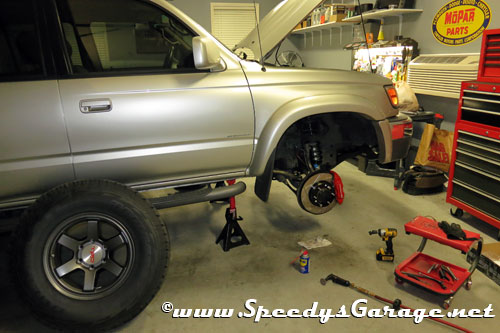
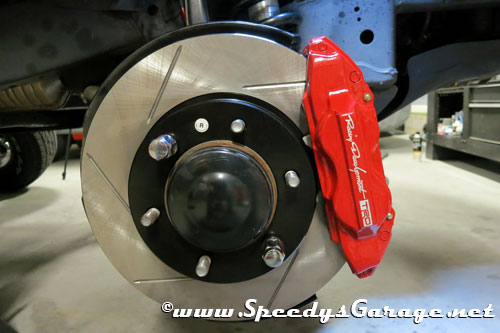
The 4Runner was approaching 100,000 miles and while surprisingly the brake pads still had plenty of life left, the rotors were warped and giving a good amount of shudder. Lookign at options, I decided it was a good time to not only replace the brakes with new parts, but do an upgrade at the same time. Tundra brake rotors and calieprs from 2000 - 2006 Tundra models will direct swap on to 3rd generation 4Runners with nothing more than some trimming of the dust shield.
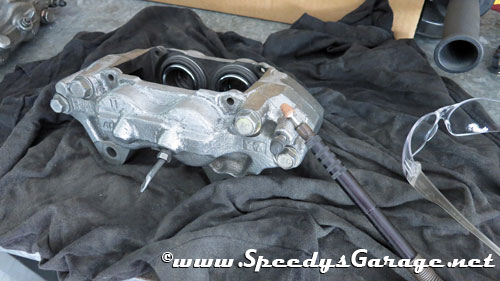
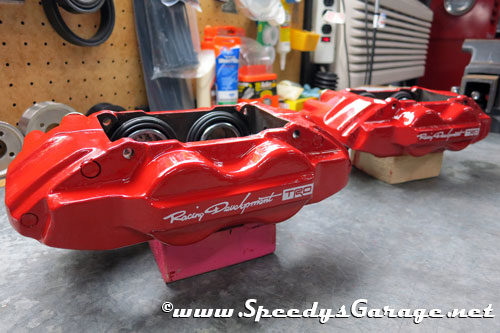
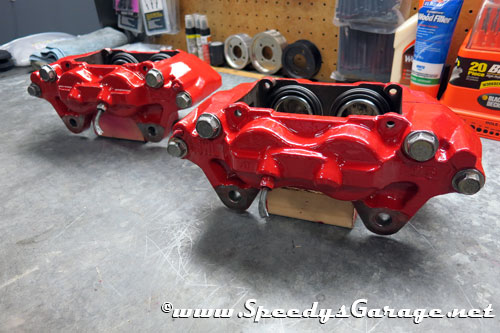
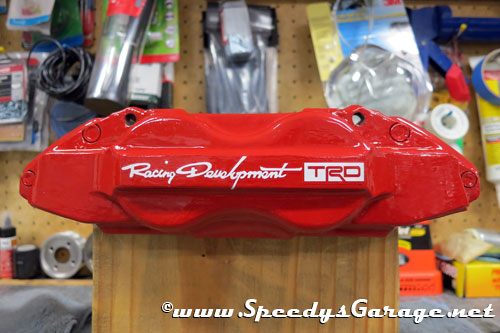
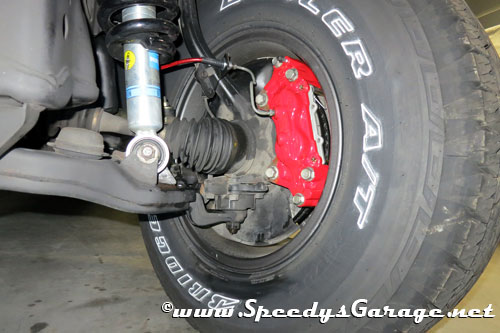
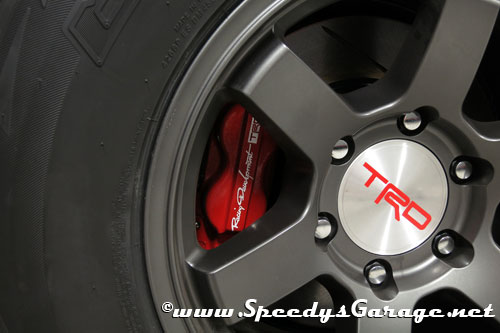
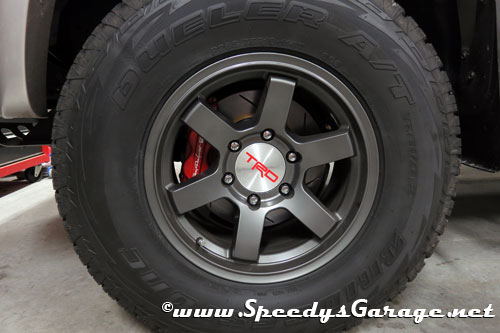
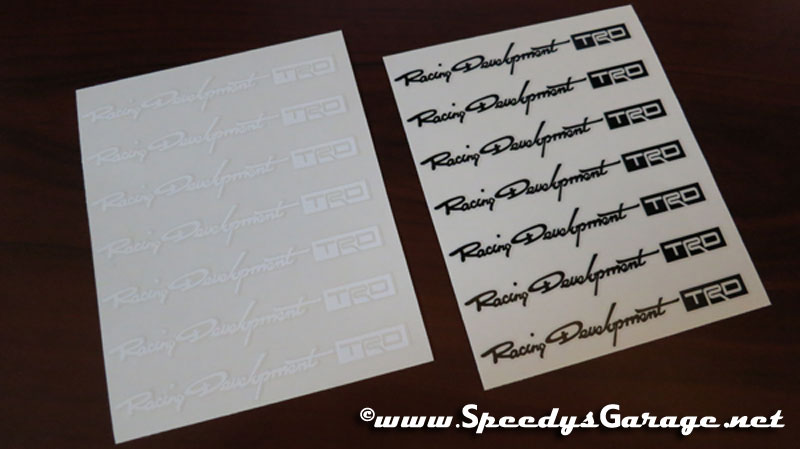
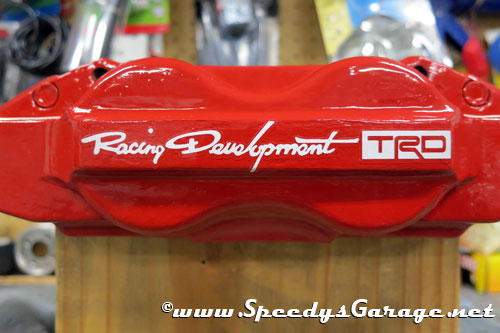
I wanted the calipers to also look a bit more sporty, and since I considered this a performance brake upgrade, I painted the calipers with some G2 caliper paint and applied some decals I had custom made to finish off the project. I also used some new stainless steel brake lines to go along with the new calipers to replace the old worn stock rubber lines. I searched for a week trying to find some decent caliper decals to no avail, so if you find you need a set contact me, or just hit the PayPal button below, and I'll drop some in the mail to you. They're very inexpensive and look great. Dont' fall for the cheap junk you'll find on Ebay as they look terrible. I have white and black available.
I found my calipers at a local salvage yard and saved enough over remanufactured units from the parts store to cover the cost of upgraded PowerSlot rotors.
For this modification you'll need:
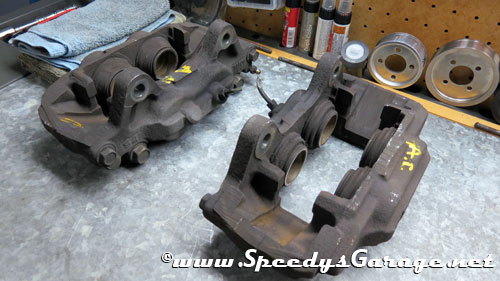
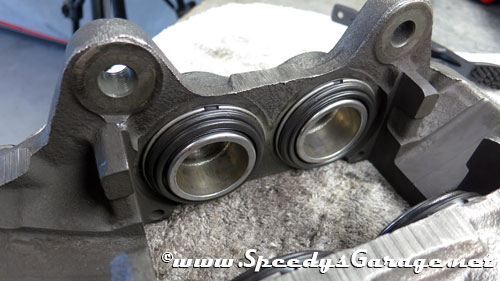
Tundra brake calipers marked with a 13WL denoting 231mm in size
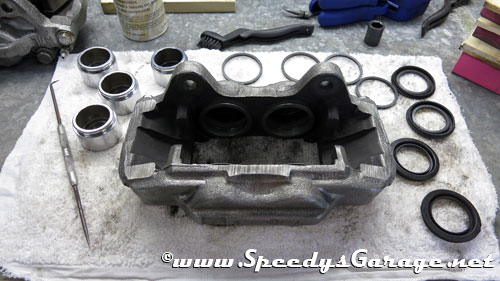
Caliper rebuild kit from the dealer if using salvage yard calipers P/N 04479-60081 (cheap)
Caliper pin retaining pins from the dealer (optional) P/N 47749-35040
Tundra Rotors - I used PowerSlot P/N 126.44118SL (left) and 126.44118SR (right)
Brake Pads - I used Wagner Thermo Quiet Pads P/N
QC976
Stainless Brake Lines (optional) - I used
Wheeler's Off Road P/N TF BLINE 06X
Brake Fluid 1 quart
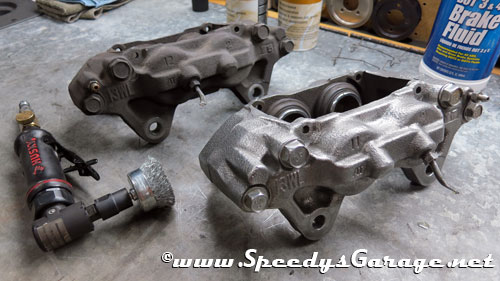
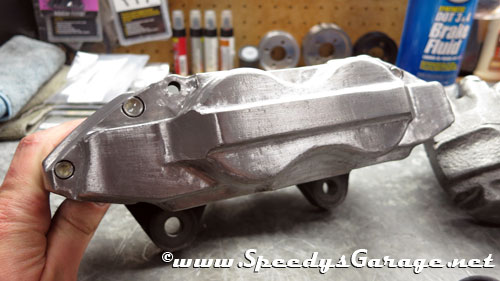
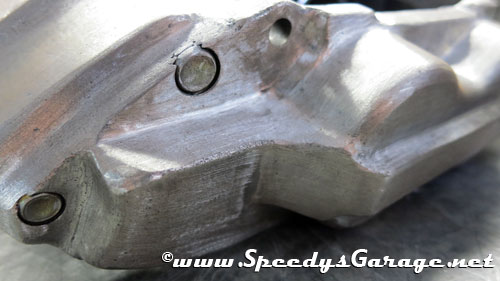
Wire wheels on a dremel or other rotary tool like a die grinder for cleaning the calipers (optional)
Brake parts Cleaner
10mm flare nut wrench
Torque Wrench
Automotive pick set for rebuilding calipers
Plenty of rags
C-clamps and ratchet clamps
Metric sockets and ratchet or impact tools
G2 Caliper paint (optional but recommended)
Speedy's Garage Caliper Decals (optional but recommended) cheap and look great as you'll see
Rather than bore you with a bunch of text to read, I did "How To" videos for each step of the process from cleaning, rebuilding, painting, and finally installing the calipers.